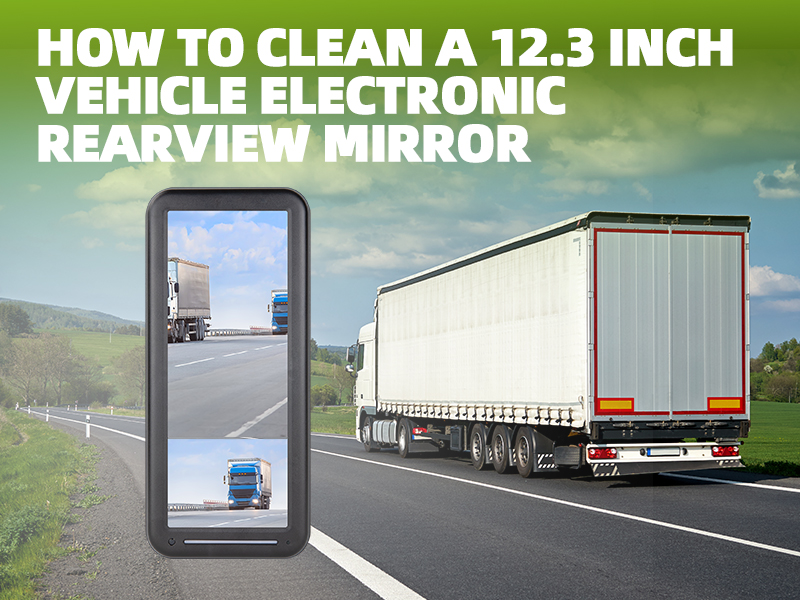
How to Clean a 12.3 Inch Electronic Vehicle Rearview Mirror?
Preparing Cleaning Tools and Materials
Cleaning the 12.3 Inch Electronic Rearview Mirror: Required Tools and Materials

When cleaning the 12.3 inch electronic rearview mirror, it is crucial to use the correct tools and materials to ensure effective cleaning without causing any damage to the device. Here are some recommended cleaning tools and materials:
- Cleaning Tools
Microfiber Cloth: Used for wiping the display screen and mirror surface of the electronic rearview mirror, capable of removing stains and fingerprints without scratching the surface.
Soft-Bristled Brush: Can be used to clean dust and dirt from the edges of the electronic rearview mirror and other hard-to-reach places.
Blower Bulb or Compressed Air Can: Used to blow away dust and debris from the mirror surface and device crevices.
- Cleaning Materials
Cleaning Solution: Designed specifically for electronic equipment, effective at removing stains and fingerprints without damaging the device.
Deionized Water or Distilled Water: If a specialized cleaning solution is unavailable, deionized water or distilled water can be used as an alternative to avoid potential damage from minerals in tap water.
Alcohol: A small amount of alcohol can be used to remove stubborn stains, but ensure that its concentration is moderate, as a high concentration of alcohol could damage the screen’s coating.
Safely Disconnecting Power and Dismantling a 12.3 Inch Electronic Rearview Mirror
Disconnecting the power and dismantling a 12.3-inch electronic rearview mirror is a delicate and potentially dangerous process, especially if you are not familiar with the installation and maintenance of automotive electronics. Before attempting these operations, ensure that you have carefully read and understood the product’s user manual, and follow all safety guidelines. Below are some basic steps designed to help ensure the safety of the process:
Disconnecting Power
- Turn Off the Vehicle: Make sure the vehicle is completely turned off, and remove the key from the ignition.
- Disconnect the Battery: Carefully disconnect the negative terminal of the vehicle’s battery using the appropriate tool (usually a wrench), to prevent short-circuiting during the dismantling process.
Preparing Tools and Materials
Prepare the necessary tools and materials, such as a screwdriver and plastic pry bar, to safely dismantle the rearview mirror.
Dismantling the Rearview Mirror
- Locate Fixing Points: Identify the location of screws or clips that secure the electronic rearview mirror.
- Carefully Dismantle: Use the appropriate tools to carefully loosen the fixing points, avoiding excessive force to prevent damage to the device or vehicle interior.
- Disconnect Connectors: Once the rearview mirror is loosened, find and carefully disconnect the power and/or data connectors.
Cautions
- Do Not Force: If you encounter resistance or are unsure how to proceed, stop dismantling and seek professional help.
- Save All Parts: Save all screws, clips, and other parts during dismantling, for reinstallation.
- Record Dismantling Process: If possible, take photos of the dismantling process for reference during reinstallation.
Inspect and Clean
After the rearview mirror has been dismantled, check for any potential damage and clean the connection points to ensure there is no dust or corrosion.
Steps to clean a 12.3 inch electronic screen
When cleaning the screen of a 12.3-inch electronic rearview mirror, extra caution is needed to prevent moisture from entering the device, which could cause damage or malfunction. Below is a detailed cleaning procedure to help you safely and efficiently complete this task:
Preparing Cleaning Tools and Materials
- Microfiber Cloth: For wiping the screen without scratching its surface.
- Dedicated Electronic Screen Cleaner: Choose a cleaner that does not contain alcohol or ammonia to prevent damage to the screen.
- Spray Bottle: If the cleaner is not a spray type, a spray bottle is needed to apply the cleaner more evenly.
- Absorbent Cloth or Paper Towel: For absorbing excess moisture and cleaner.
Turning Off and Disconnecting Power
Before starting to clean, ensure the device is turned off and disconnected from the power source to prevent short-circuiting due to moisture ingress.
Cleaning the Screen
- Apply Cleaner: Spray the cleaner onto the microfiber cloth, not directly onto the screen, to prevent liquid from seeping into the edges of the screen or inside the device.
- Gently Wipe: Gently wipe the screen with the microfiber cloth, moving from one side of the screen to the other, using straight line motions instead of circular motions.
- Pay Attention to Edges: Be especially careful when cleaning the edges of the screen to ensure that no cleaner or moisture seeps inside the device.
Removing Excess Moisture and Cleaner
Use a dry microfiber cloth or absorbent cloth to gently wipe away any excess moisture and cleaner from the screen.
Checking the Screen
After the cleaning process is finished, carefully inspect the screen to ensure that no streaks or stains have been left behind. If necessary, gently wipe again with a clean microfiber cloth.
Reconnecting Power and Turning On the Device
Once the screen is completely dry, reconnect the power and turn on the device to check that the screen display is functioning normally.
Conclusion
When maintaining and cleaning the 12.3 inch electronic rearview mirror, it is crucial to follow the correct cleaning procedures and use the appropriate cleaning tools and materials. This not only ensures that your device remains in optimal condition, providing a clear and accurate view, but also prolongs the life of the device, ensuring your driving safety.
Choose Luview for the assurance of safety and quality. We offer a variety of sizes and functionalities in our car electronic rearview mirrors to meet the diverse needs of our customers. If you are in search of high-quality, reliable vehicle rearview products, Luview is your ideal choice. Please contact us at sales@luview.com to learn more details and start our cooperation, ensuring your driving experience is both safe and enjoyable.


